Saturday, October 30, 2010

Streamer Ball

This was a great gross motor activity, my arm is still sore from having to throw the ball in the air so many times! Both girls were utterly fascinated watching it fly through the air, although I think before we take it out again I will cut the tails shorter so it is easier for them to throw.

WE USED:

* old pair of stockings
* small plastic bag
* rice
* scissors
* something to use as a tail, such as ribbons or streamers. We used the tail from a kite that broke recently.

Fill your plastic bag with rice and tie it off so it is secure. Cut the legs from the stockings right at the top and place the bag of rice in the bottom of one of the legs.

Tie it off at the top so that you have a ball shape. Layer the second stocking leg over the top and tie off again, just to give the ball extra strength when it is thrown. Don't cut of the stocking lengths that are left at the top!

We covered the stocking ball with some fabric from our dress up box, but you don't need to. Attach your 'tail' with the band cut from the top of the stockings or a clip around the tied section.

The ball can be thrown by holding the loose stocking legs and using them to swing and launch it into the air. Because of the elastic nature of the stockings you'll be really surprised how high you can make it go!

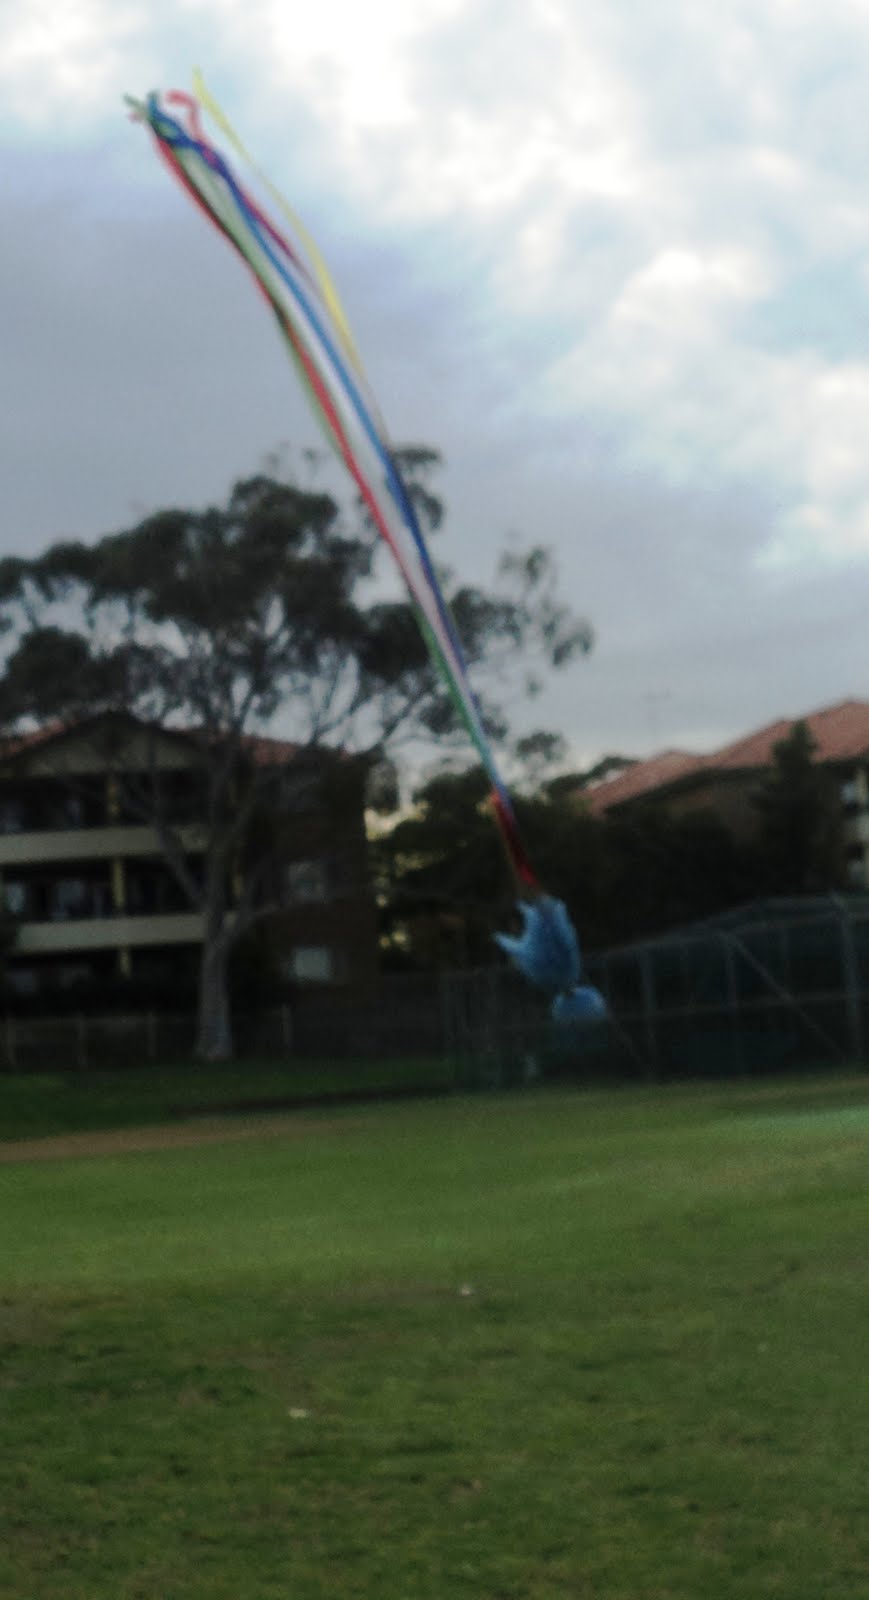
Sorry for the dark photo, I couldnt get my camera settings right in the bright sun. This is our tail ball coming down, it looked amazing with the colourful tails streaming out behind it.


The ball going up.


Friday, October 29, 2010

Jelly Volcano Balloons

This activity was serious fun, both girls got really involved - and sticky :-D It was a great sensory play experience; there was the feel of the jelly, the fun of watching it 'explode' as well as the taste and smell.

WE USED:

* balloons (washed in warm soapy water and rinsed)
* jelly (2 packs)
* fridge
* scissors
* large container
* kitchen utensils for play

First we washed our balloons thoroughly, rinsing them well.

Then Bubble and I made some jelly using two packs of crystals and only adding a small amount of hot water to dissolve (about a cup). It was very thick and syrupy which is what we needed.

I filled each of our balloons with some of the concentrated jelly solution using a funnel, then filled them the rest of the way with water from the kitchen tap (cover the tap with the top of the balloon like you would fill a water bomb). The balloons were then tied off and left in the fridge for a day to set.
I had no idea if I'd added enough or too much water to make them set, but figured they'd be fun to play with whether the jelly was firm or watery!

Today we took our jelly balloons outside along with some scissors and things from the kitchen.

When the tops of the balloons were cut off they literally exploded jelly out the top - Bubble was very excited and thought they were volcanos :-)
All the balloons were different consistencies which was even more fun - the watery ones exploded the best when cut and the firmer ones were lots of fun to squeeze.


Bubble enjoyed cutting the balloons herself.


Once all of the balloons were 'erupted' we played with the jelly doing pretend cooking, whisking, filling and pouring and of course tasting :-D

Using ladels to fill cups.

Squeak was fascinated and inspected the jelly very closely for a long time. She ran her fingers back and forth and kept holding handfuls up to the light.


There was lots of squishing.

And plenty of eating too :-)

Thursday, October 28, 2010

Elastic Aeroplanes

My brain was a bit stuck on projectiles last night after making the straw rockets, so I created another little activity for the girls to try out today as well. It was easy to make and a complete blast, and worked even better than I expected; the whole family got involved :-) My siblings and I used to play something similar with folded newspaper, except we used real slingshots!
This would be a great game to play outside using tree branches, and I love the way it could be set up anywhere. I'll be adding it to our little bag of travel games I think!

WE USED:

* craft paper
* texta/pen
* scissors
* glue
* elastic
* childrens table (could use any table or something entirely different!)

Cut a large sheet of paper to a width of about 10cm (I used a piece of scrapbooking paper). Fold down your sheet making the folds about 5cm until you reach the end.

You should have a rolled up piece of paper like this.

Fold it in half as shown.

Cut aeroplane shapes from contrasting paper (maybe get your child to decorate them for some extra fun) and glue the tails to the folded paper as shown. Make sure your aeroplanes are facing towards the 'folded' end, not the 'open' end.

To make our launch pad I turned the girls craft table upside down and used two of the legs to tie across some thick elastic. Make sure it's tied very securely, you dont want it coming undone when it is pulled on.
You could easily tie your elastic across the legs of a dining or kitchen table (right side up of course :-D) or the legs of a heavy chair. Tree branches outside would be fun too - be inventive!

We put down a towel for Bubble to sit on and pretended the table was her pilot seat :-)

Hold your aeroplane so that the elastic runs through the middle folded section as shown above. The open end should be facing your child with the elastic sandwiched in between and the folded end pointing forwards.
The idea is that you pull back till the elastic is taut and then let go so that your plane is launched across the room.

Bubble launching her aeroplanes.

They shot all the way across the room and would have gone much further had we had more space!

Daddy showed Bubble how to change her trajectory each time, so the planes shot up, down and straight depending on how they were angled when she let go. Although Squeak was too little to launch any planes herself she loved watching this activity and laughed at every single take off :-)

Straw Rockets

We saw these on Mister Maker this morning and I knew we had to give them a go - they are so much fun! Bubble was at kindy today so I made them while Squeak had her day nap, I can't wait for the girls to try them out tomorrow. I've been testing them thoroughly, you know just to make sure they were as fun as they look ;-D
I made the girls a frog as well as a rocket just for a bit of variety, I love the shooting star idea they had on the show as well.

WE USED:

* scrapbook paper
*glue
* scissors
* marker/texta
* drinking straw
* sticky tape

The idea is very simple - cut two identical shapes from paper and glue them together around the edges. To launch just insert the straw and blow!

I made the rocket a little differently, using tape to secure a rectangle of paper to the reverse side instead of gluing a backing piece on. It worked really well and with the extra bits of card on the front as decoration it was well weighted when it 'flew'.


The frog I made the same way as seen on the show, I cut two identical frog shapes and glued them together around the edges leaving the bottom open for the straw. The frog launched great but wasn't as well weighted as the rocket, so didn't 'fly' quite as smoothly.

These are great fun, I had a long test run with them tonight and can see they are going to be a hit with the girls already. I think we will have some races to see which goes furthest and get out the laundry basket to see if we can launch our rocket into it.

Tuesday, October 26, 2010

Slot Together - House and Trees

When I was younger I had a set of blocks that all slid together that you could use to build all sorts of things. Bubble and I had a go at replicating the effect with cardboard during quiet time yesterday - not quite as sturdy but it still worked quite well!
I've tried to explain the process as well as I can, please let me know if the instructions aren't clear enough though!
If you liked this activity check out these Autumn trees over at Mumma To Three Blessings, dont they look fabulous!

WE USED:

* cardboard (we used the side of a cereal box)
* toilet rolls
* scissors
* textas/pencils
* ruler

To build our slide together house I first cut 7 squares of card of equal size. My squares were 8cm x 8cm.

Then cut slits down the sides going a little bit further than halfway. Don't cut too close to the edge or your structure wont be very sturdy as the sides will tear easily.

The pieces will then slot together and you can build your house.

We built the two side walls and back first, then added the ceiling and floor pieces. The two remaining squares we used to create a roof.

You can see here how all of the pieces are slotted together.

Our cute little slot together house :-)

We decided to make some trees to go with our house, these were much easier and less fiddly to make so Bubble was able to do most of it herself.
First I drew some tree top outlines.

Then Bubble coloured them in and I cut them out.


We cut two slits on opposite sides of some toilet rolls.

Bubble was able to slot the tree tops into their trunks.

Three slot together trees.

We had hours of fun with these, I even managed to get dinner cooked while Bubble was entertained - bonus :-D

I love seeing kids creativity when left to their own devices - these wooden dolls had 'climbed the trees' apparently, and needed to be rescued by a fire truck.